Insights: Indoor photography with artificial lighting
Fall is a wonderful time of year. The weather is cooling down, the leaves are changing colours, the heavier fabrics come out of storage, and Spier and Mackay releases a collection of pure awesomeness. The sun rises a little later, and sets a little earlier. This means that by the time I need to leave for work in the morning, there’s barely enough sunlight to grab some outdoor outfit shots. What is an Instagrammer to do? How do you create interesting content if you’re limited to indoor photography?
Indoor photography: Lighting
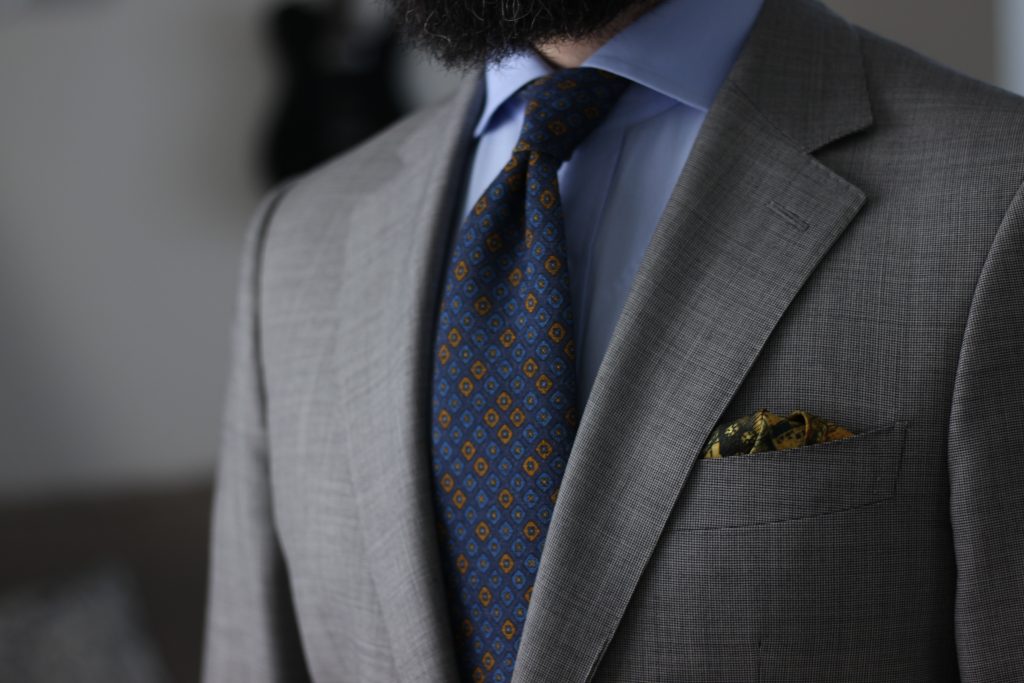
Last year for Christmas, my wife gave me a lighting starter kit. This kit included: two adjustable stands, bulbs, and a pair each of reflective and diffusion umbrellas. The lights aren’t very powerful, but with the right camera settings can produce decent images. Here are a few from when I was first learning to use the lights for my indoor photography.
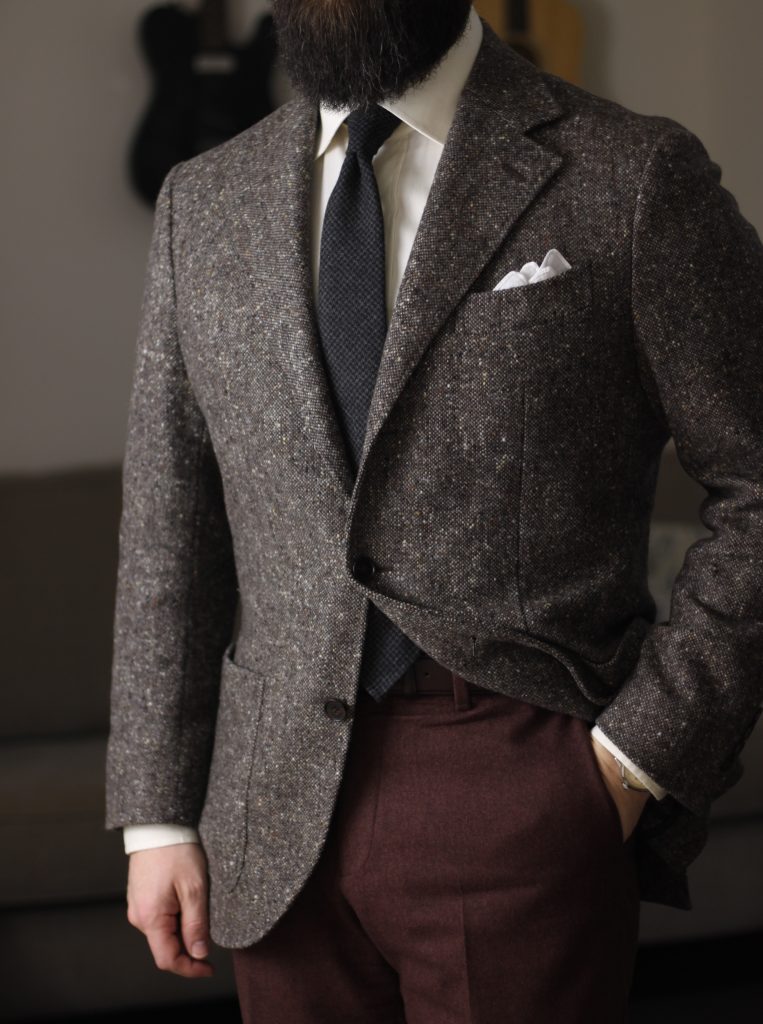
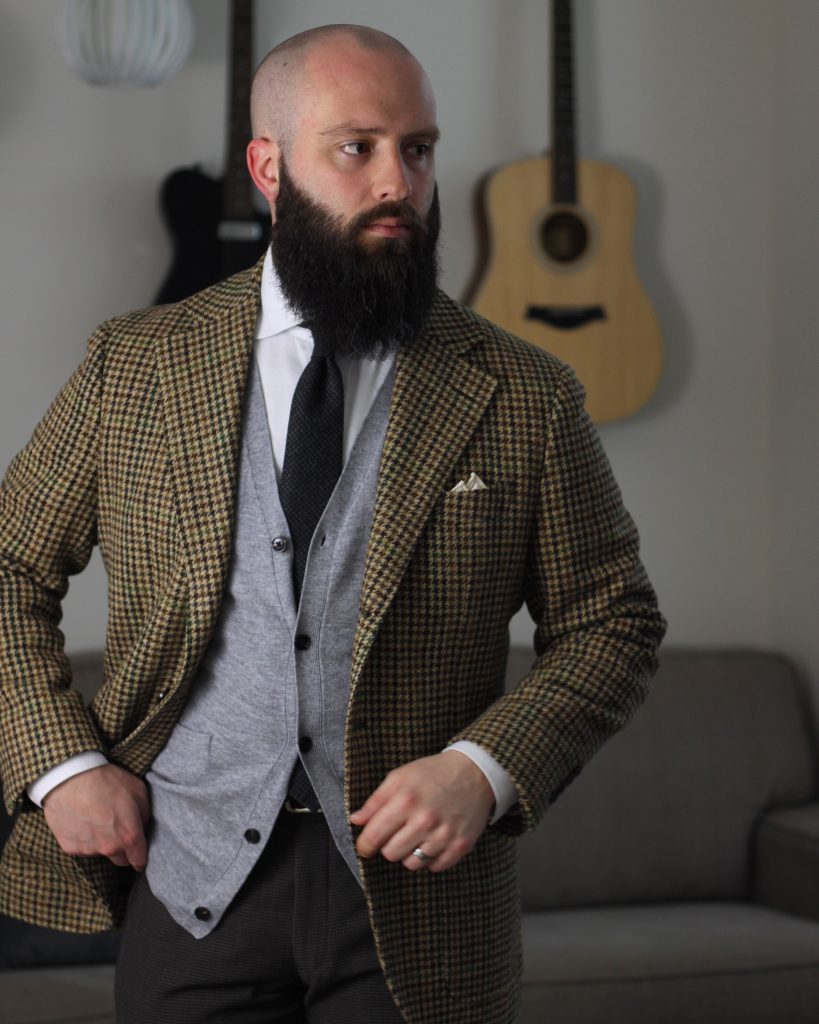
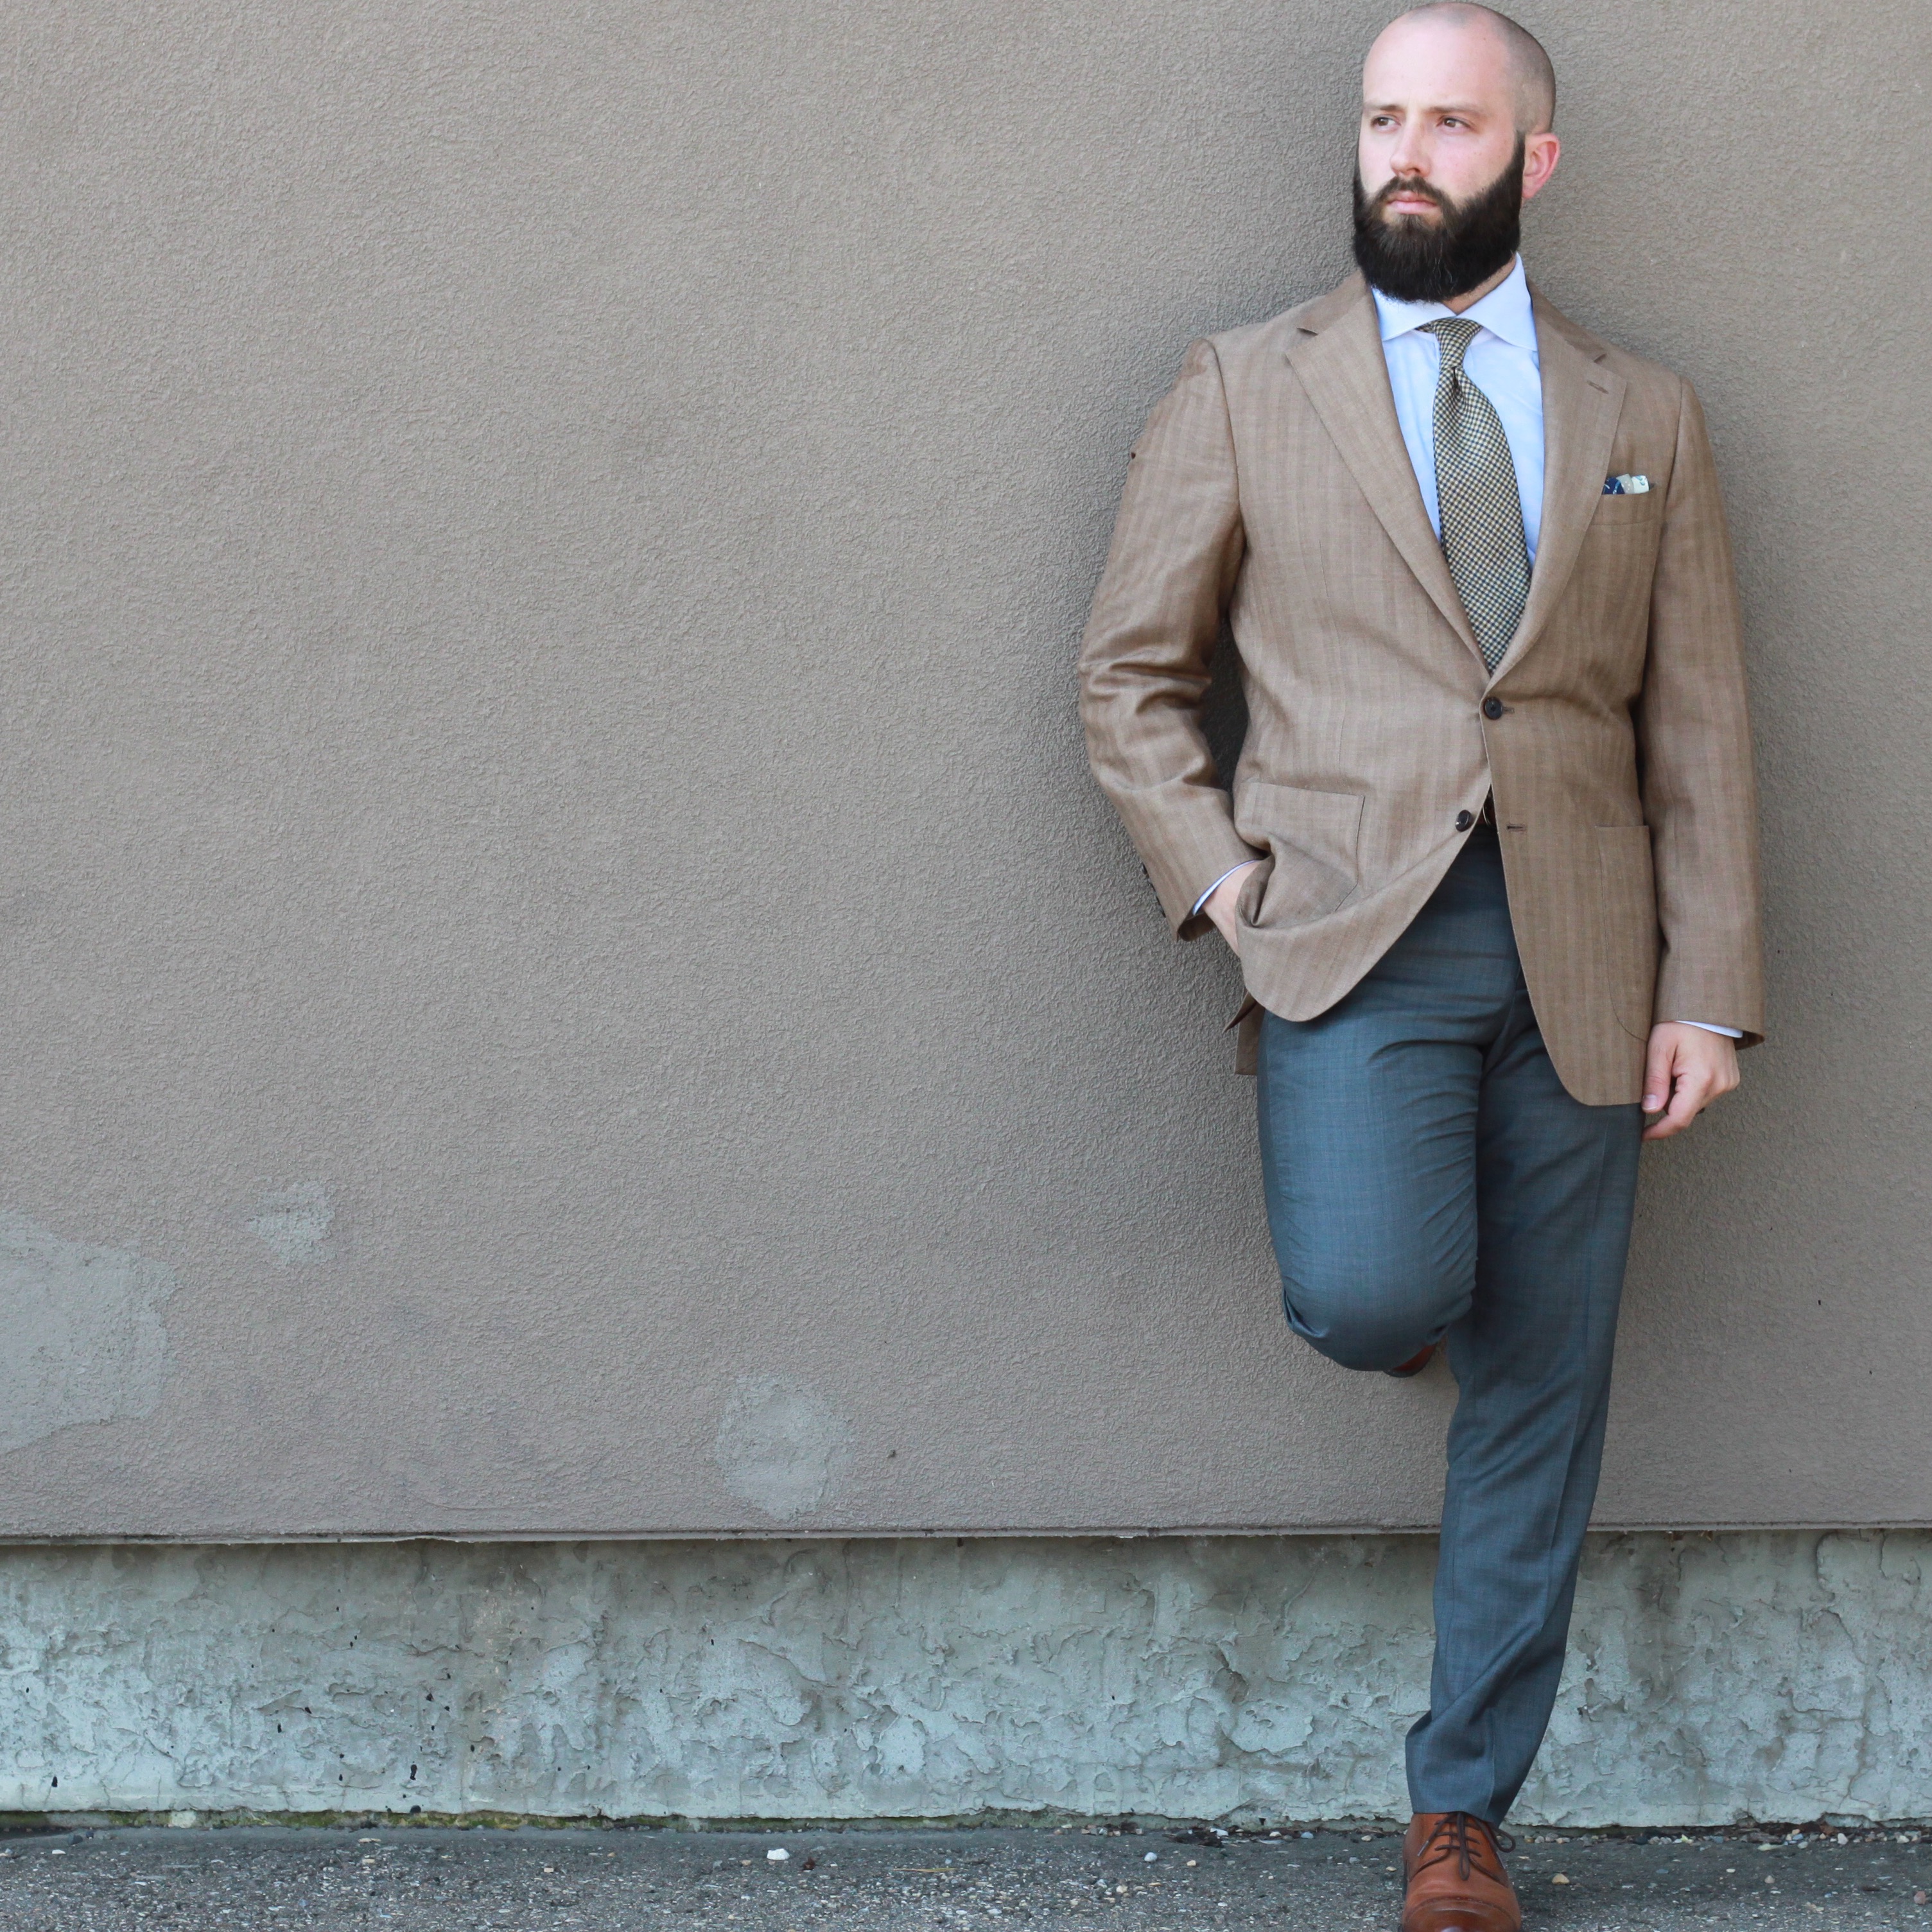
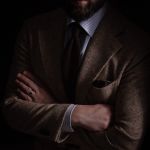
Some were more successful then others. Such is life, right? There are aspects of these photos that worked well, and some that could be improved. All of these images used the diffusion umbrella. Most of the time, I had the light source on about a 45° angle to my right of the camera, at about an arms-length distance. These images have good contrast, nice shadows, are generally well exposed, and have good colour representation.
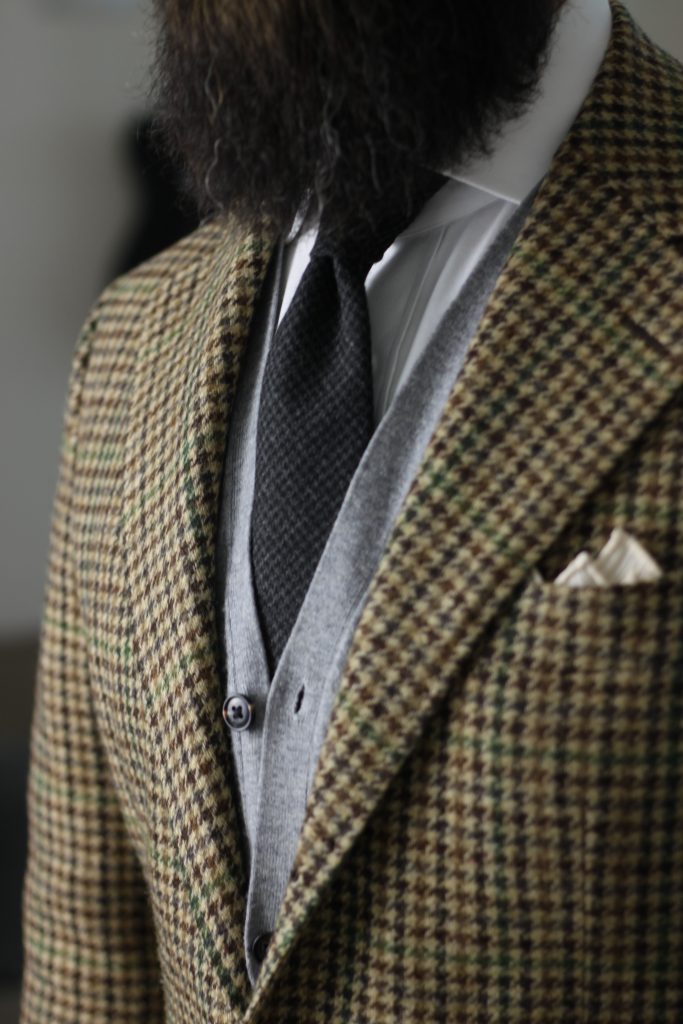
Because they can be placed very close to the subject, the diffusion umbrellas are very useful for my indoor photography situation. I don’t have a ton of space in which to shoot, so having flexibility in the setup is key. By definition, the diffusion umbrella lighting produces a softer light, but you can increase the drama by moving it in nice and close. I especially like this approach with the more heavily textured jackets and ties.
In the a few of the images where I shot at F2.2, there’s just enough separation where I’m in focus, but everything behind me is very softly defined. This helps you, the viewer, pay attention to what I want you to – the outfit.
Indoor photography: Camera settings
Camera settings are important (obviously). All of my photos are through a 50mm prime lens. My indoor photography settings are usually within the following parameters: ISO at 100 or 200, F2.0-2.2, and shutter speed of between 1/5 and 1/13. There might be few at F1.8 for the up close stuff. You lose some detail, but can use the focus to draw the eye to the part of the outfit you desire.
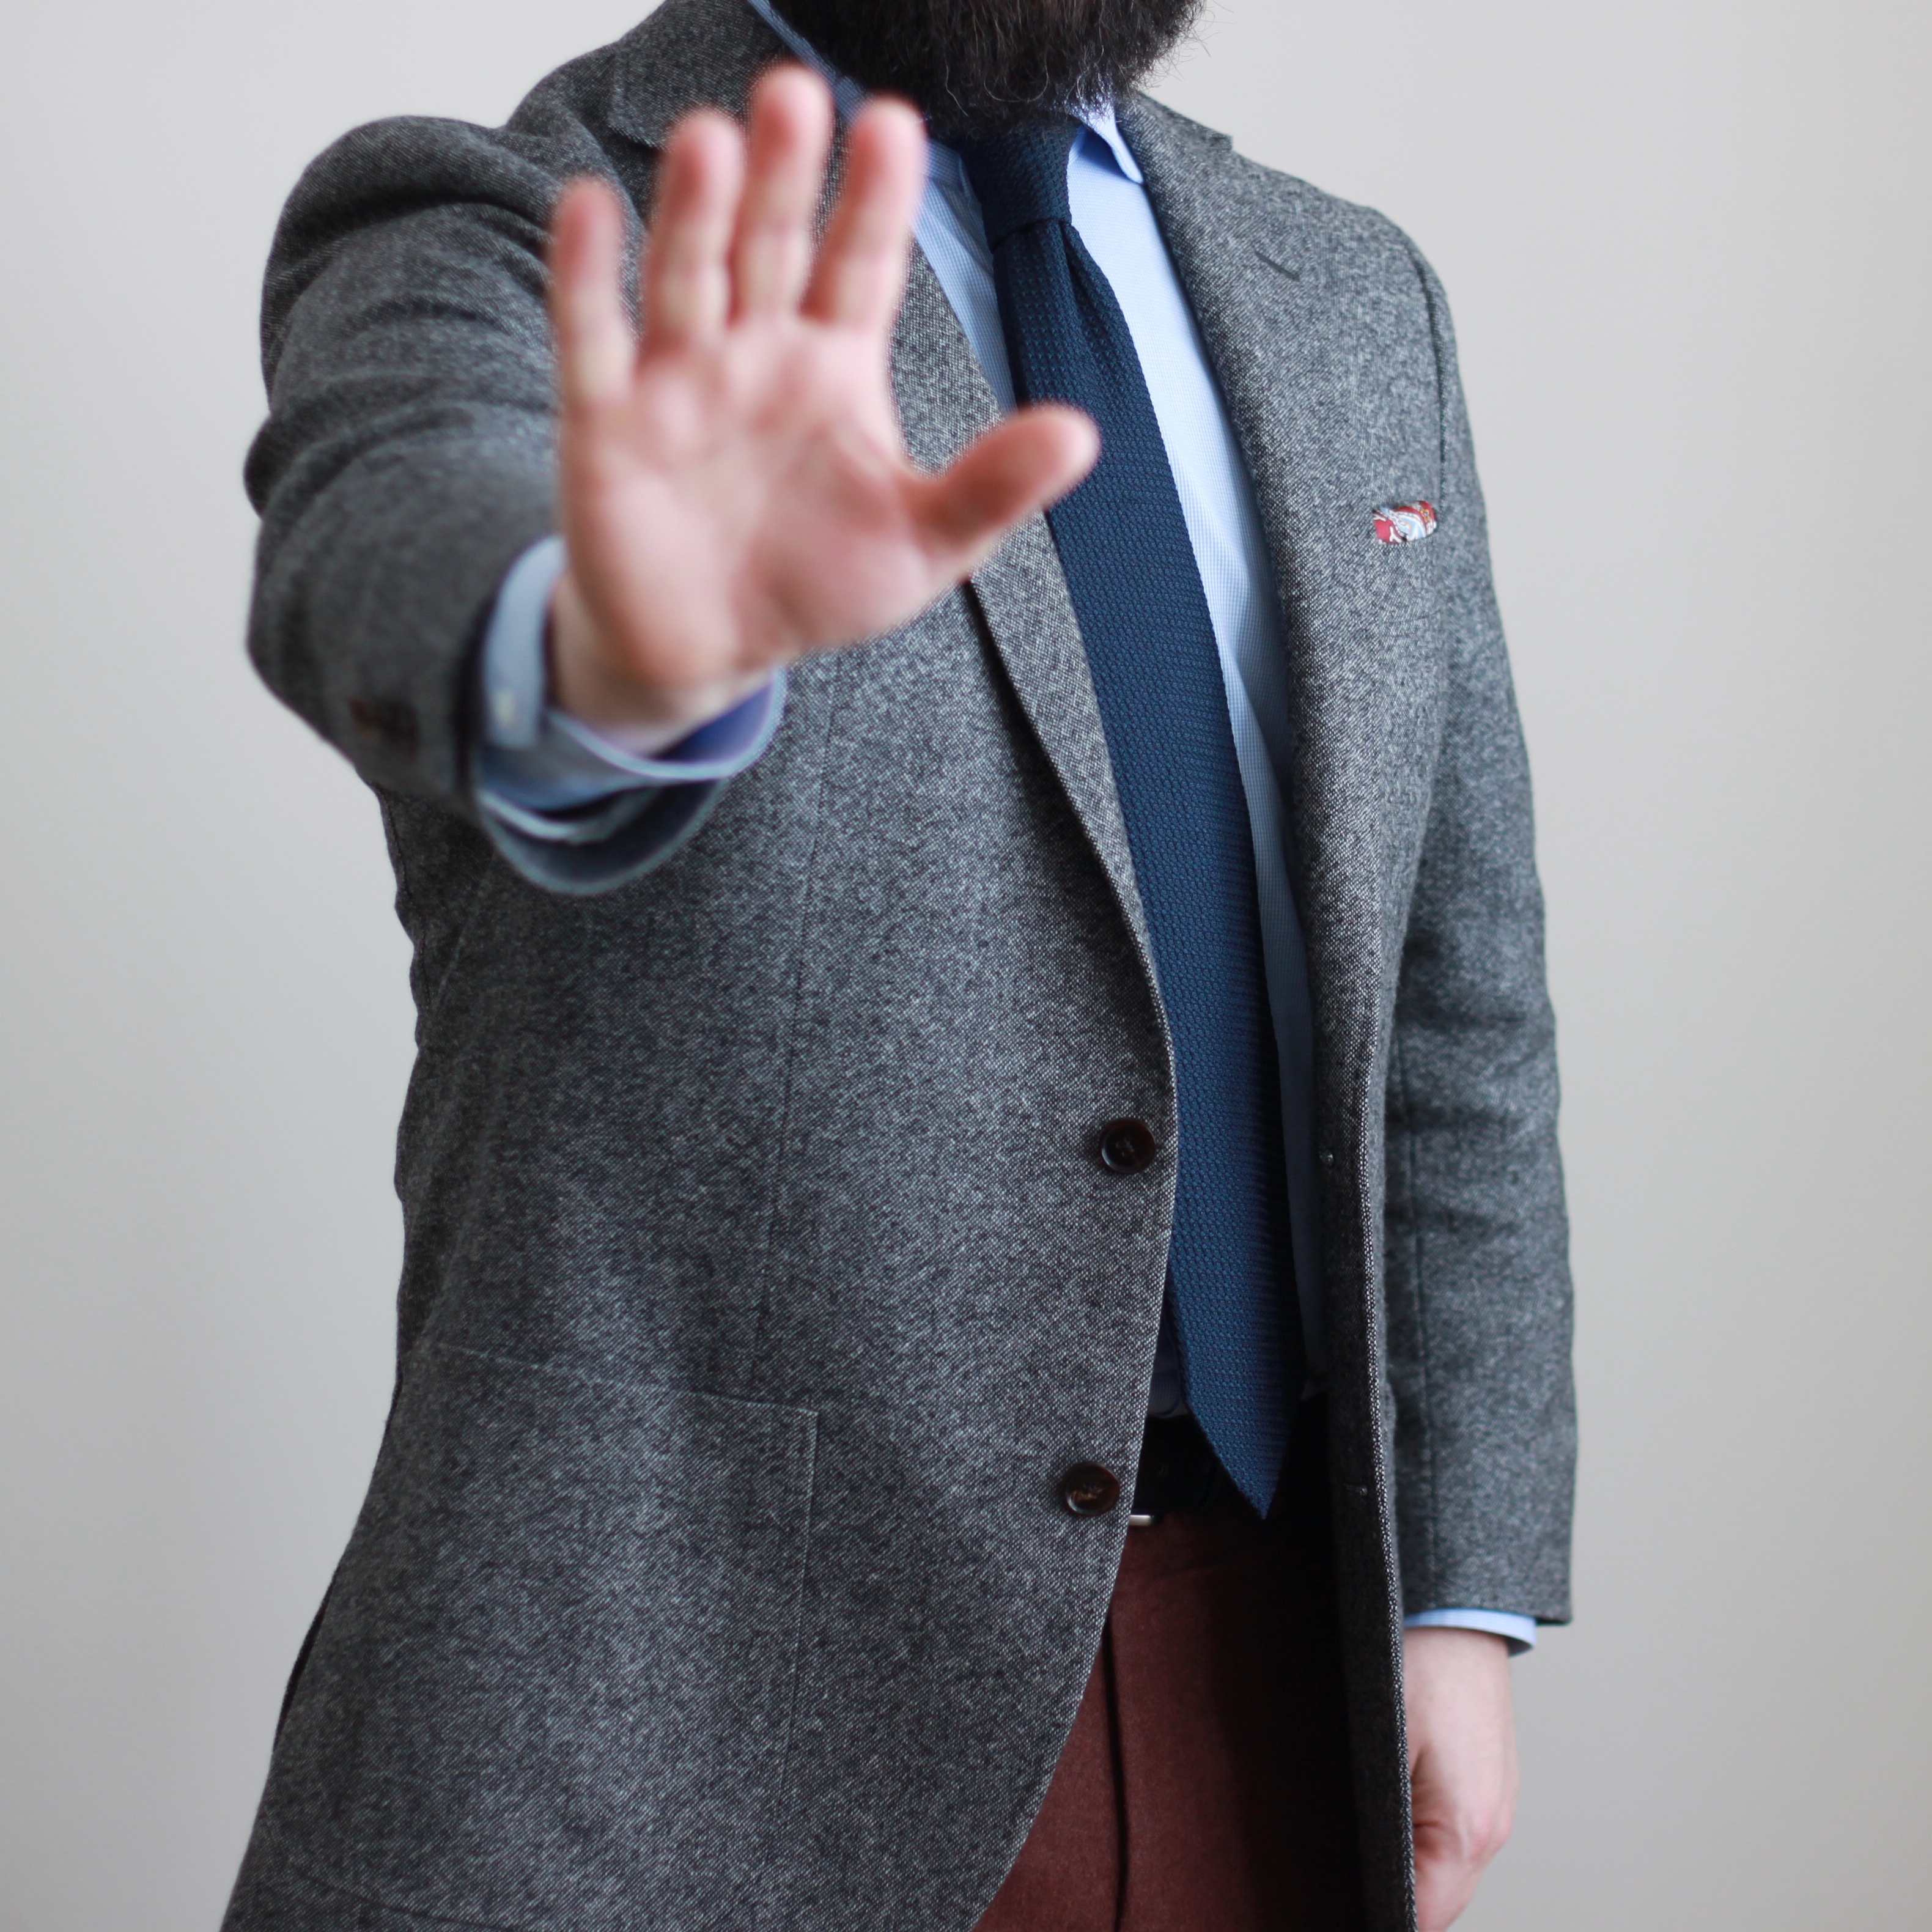
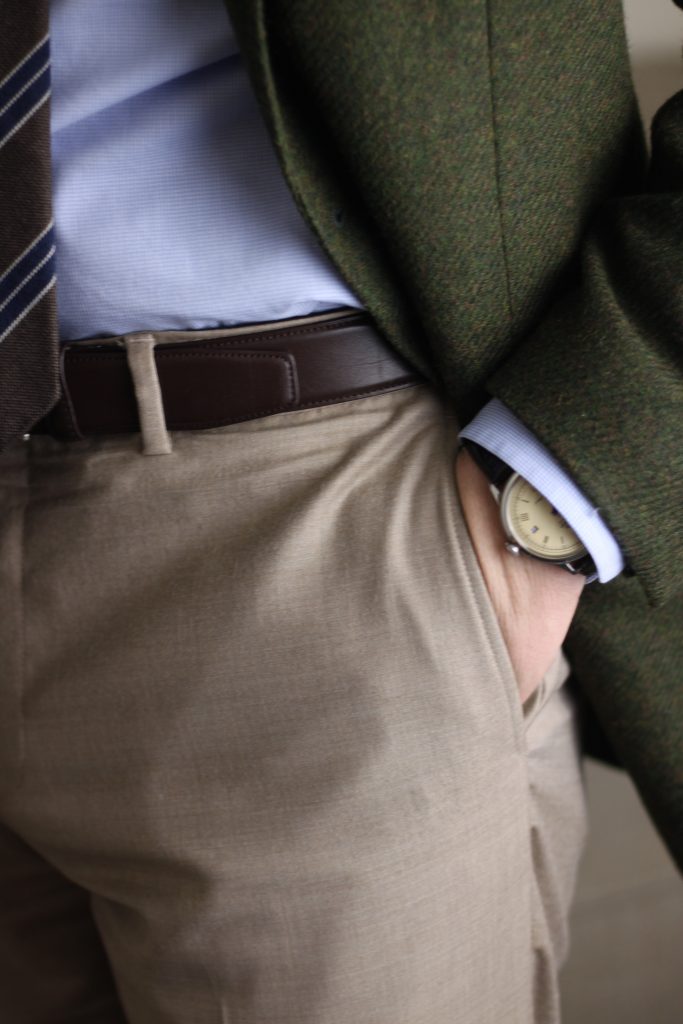
Sometimes I overdo it, chasing the bokeh (blurred background) when there’s no value. With no light source or reflections behind me, you don’t get all the cool effects shooting at that aperture can provide, while simultaneously losing focus of the greater part of the outfit. For example, the first image you can see that the jacket in the foreground is a bit blurred. The beautiful charcoal houndstooth wool tie from Oxford Rowe was intended to be the focus of the shot.
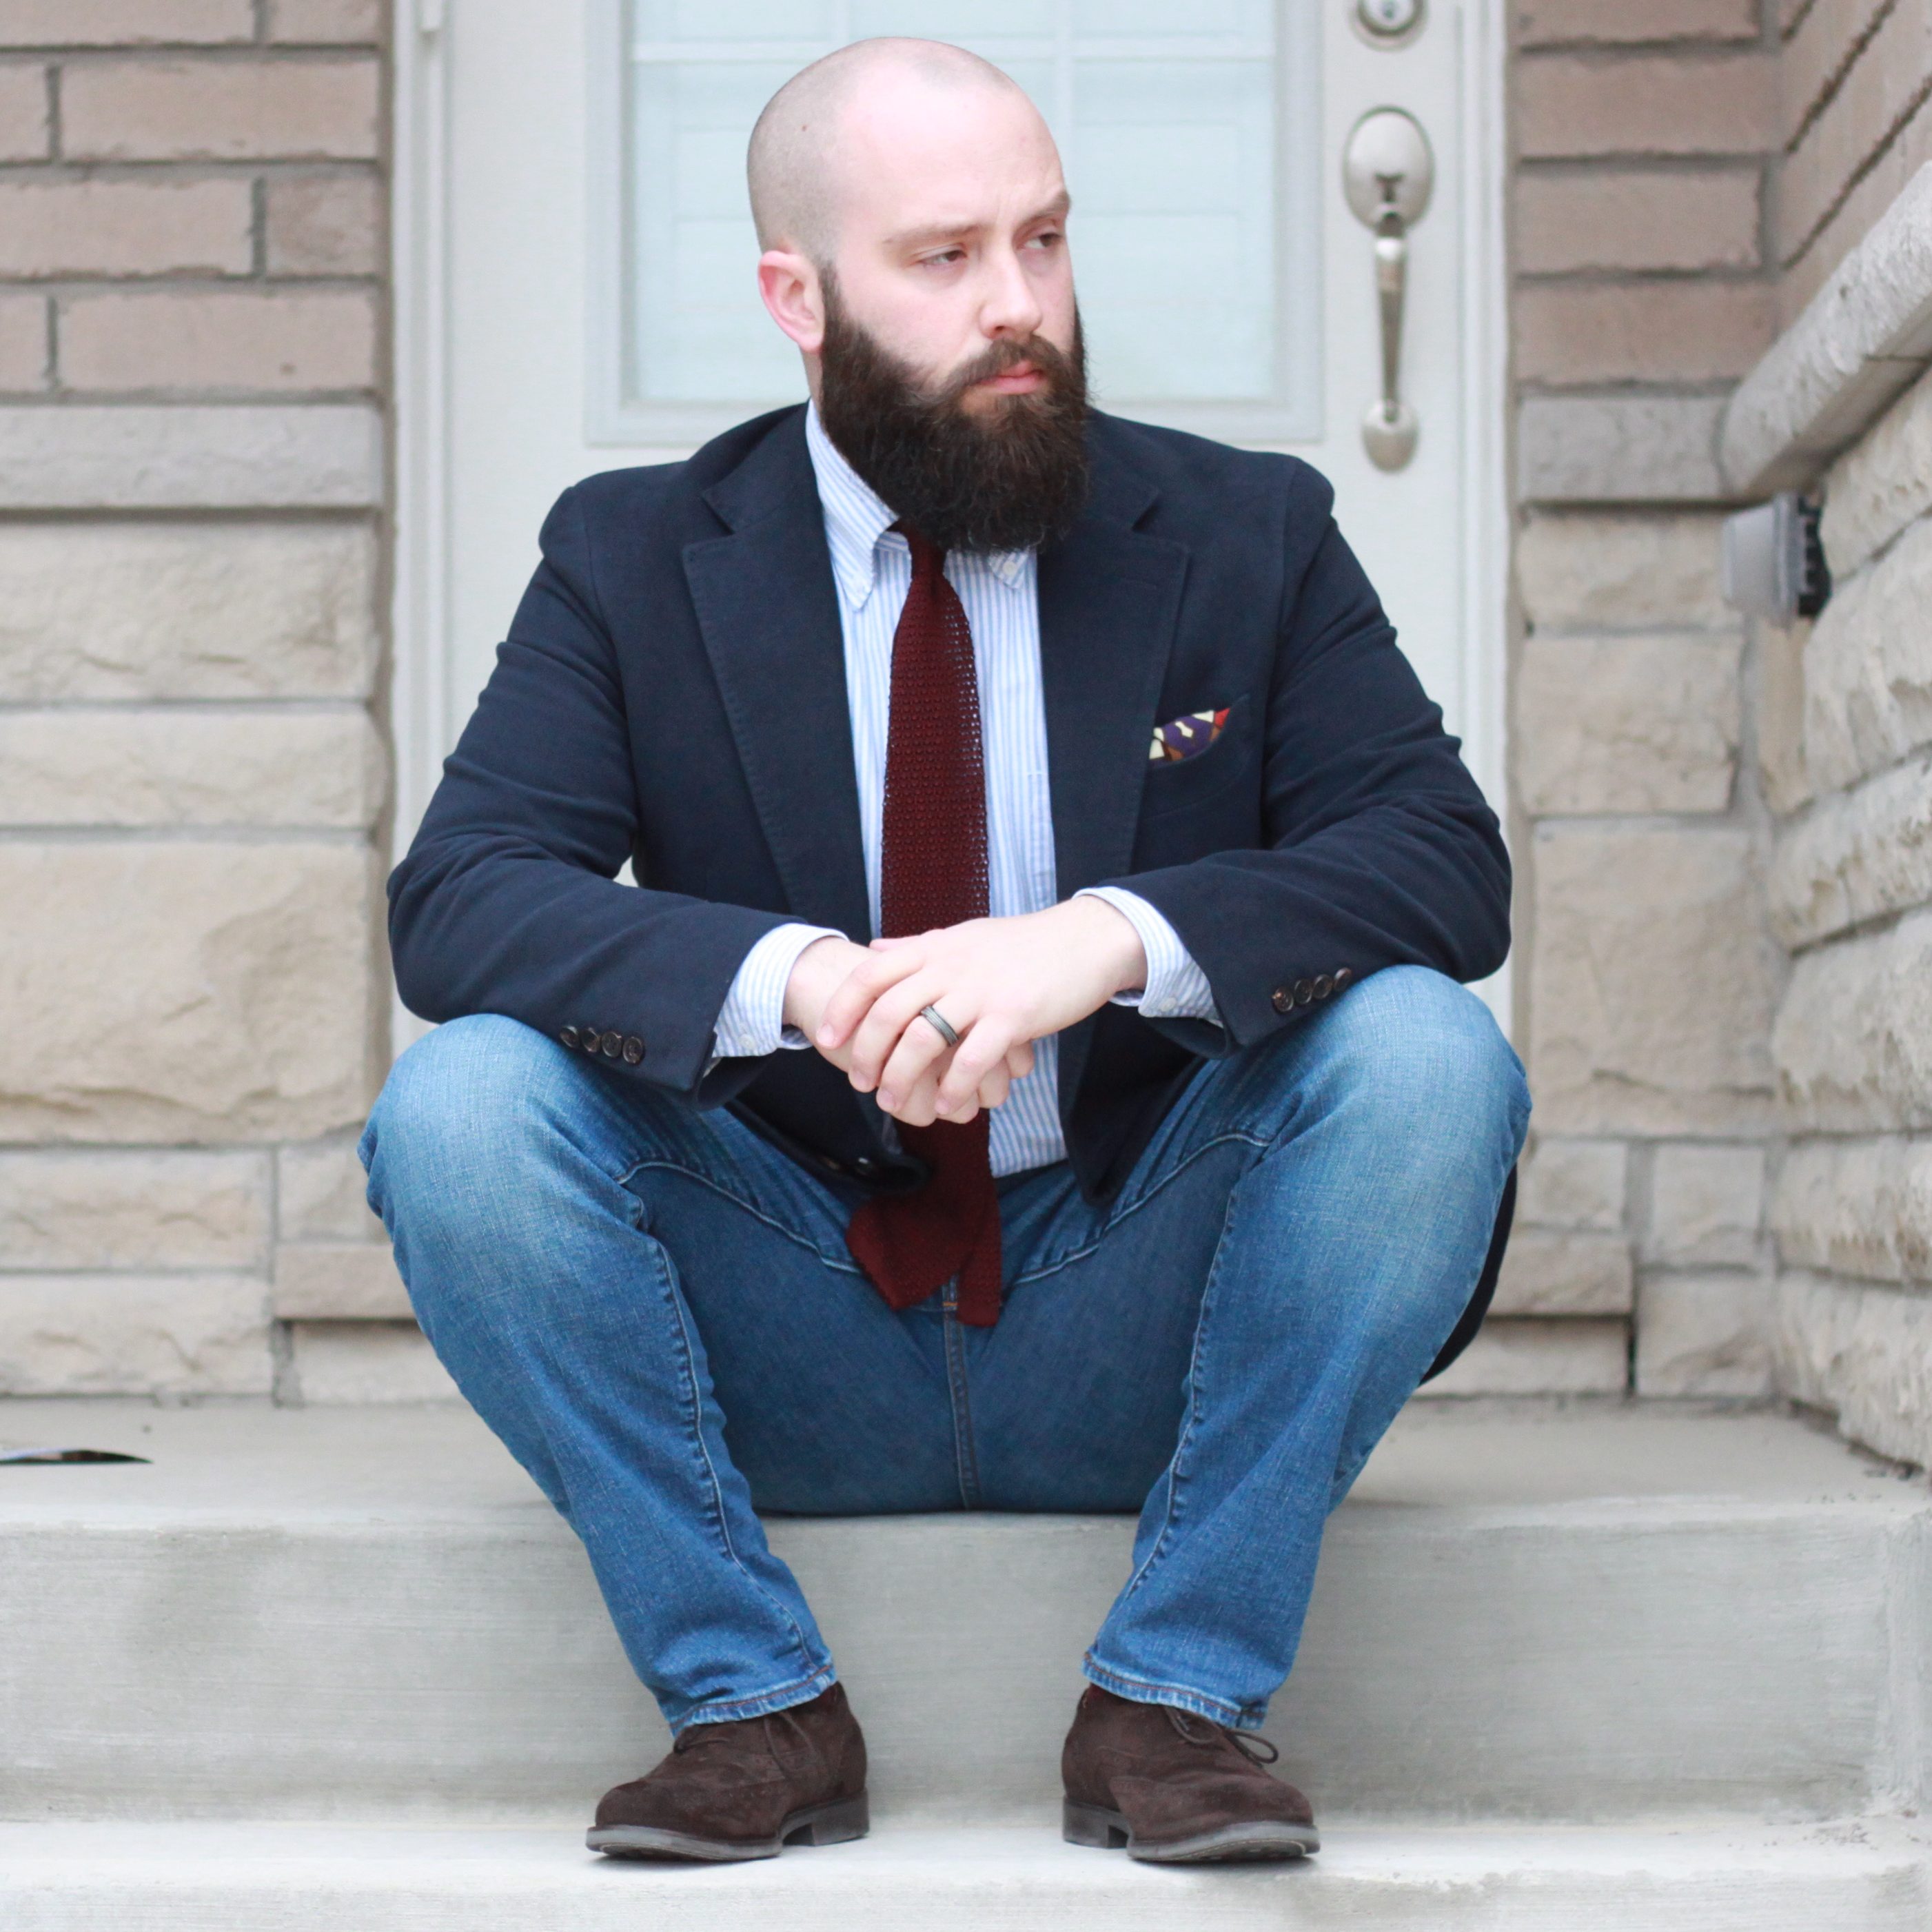
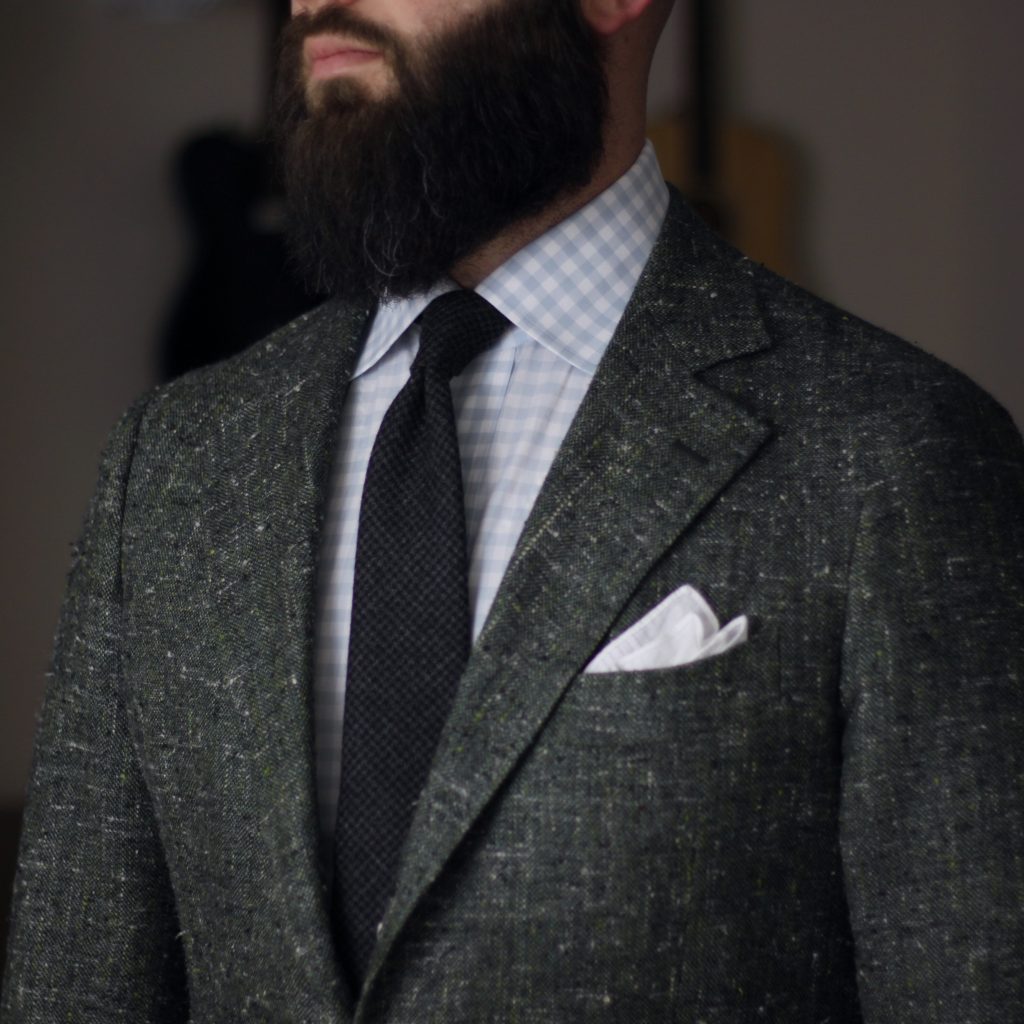
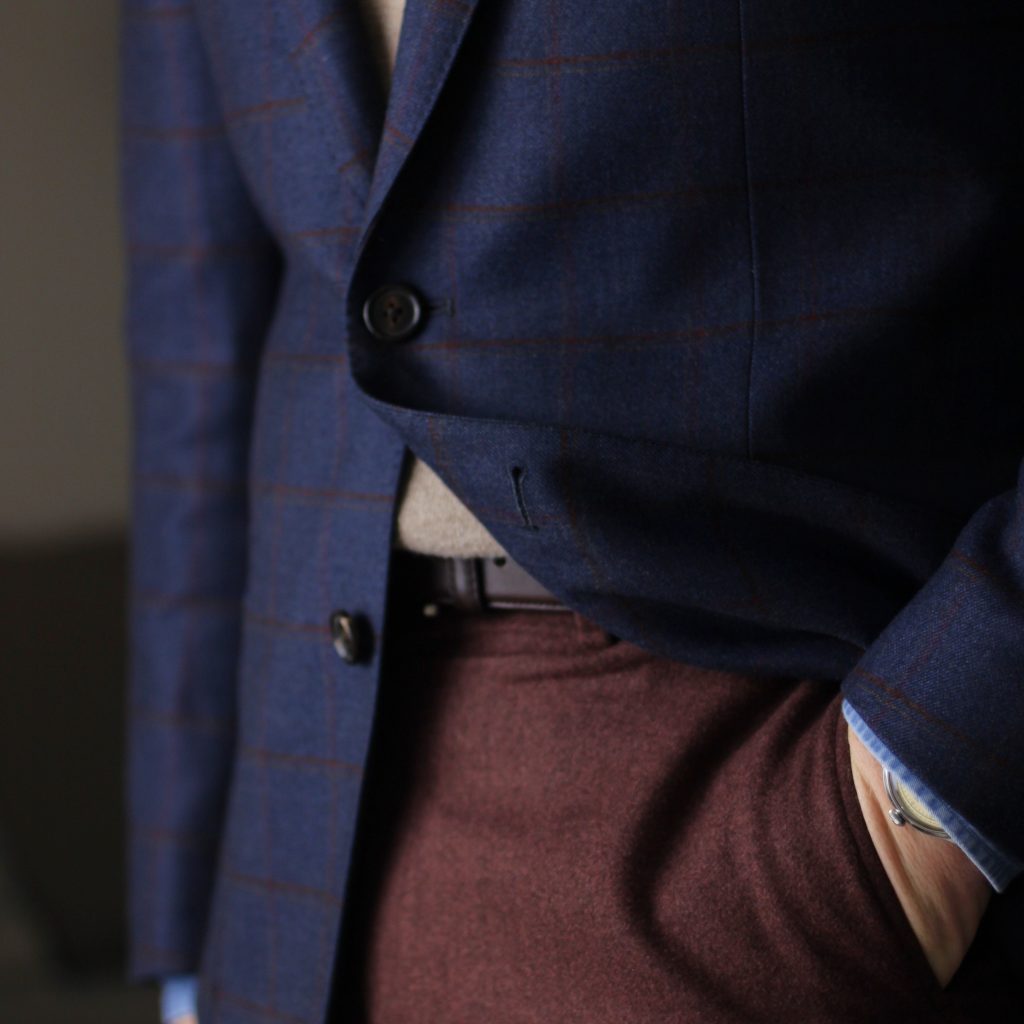
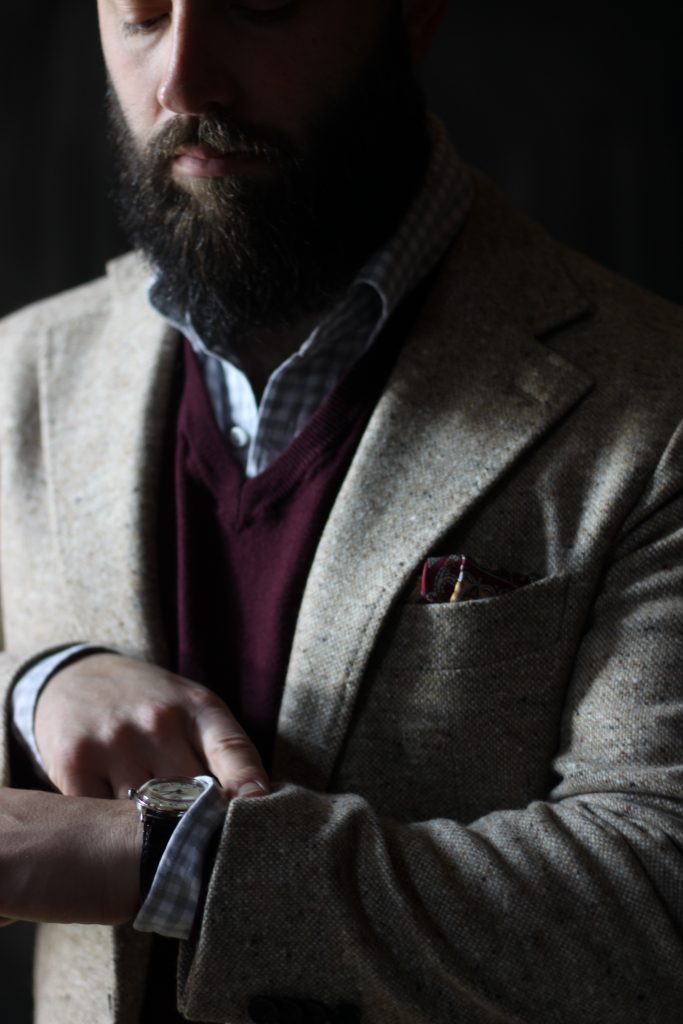
The next photo would have benefited from some adjustments. There’s a little bit of distortion in the tie, and the focus is kind of centered on the shirt and belt, not the more interesting texture of the jacket. I think some of the blur is due to the slow shutter speed, and me not holding perfectly still. Notice the slightly out of focus area around the watch – this should have been the focal point of the image.
Indoor photography: Backdrops
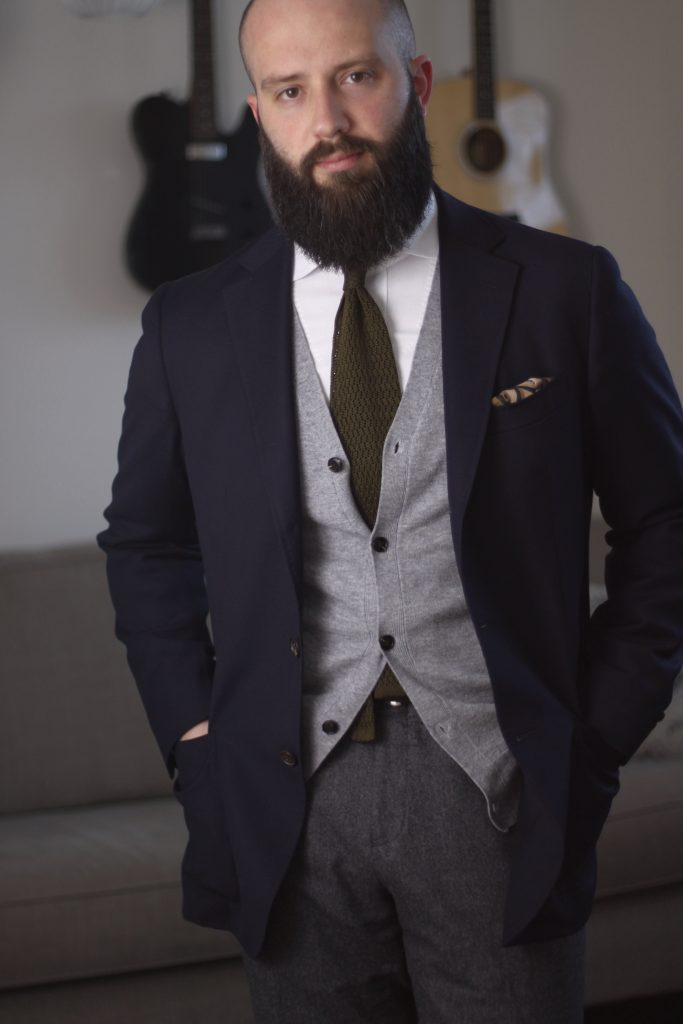
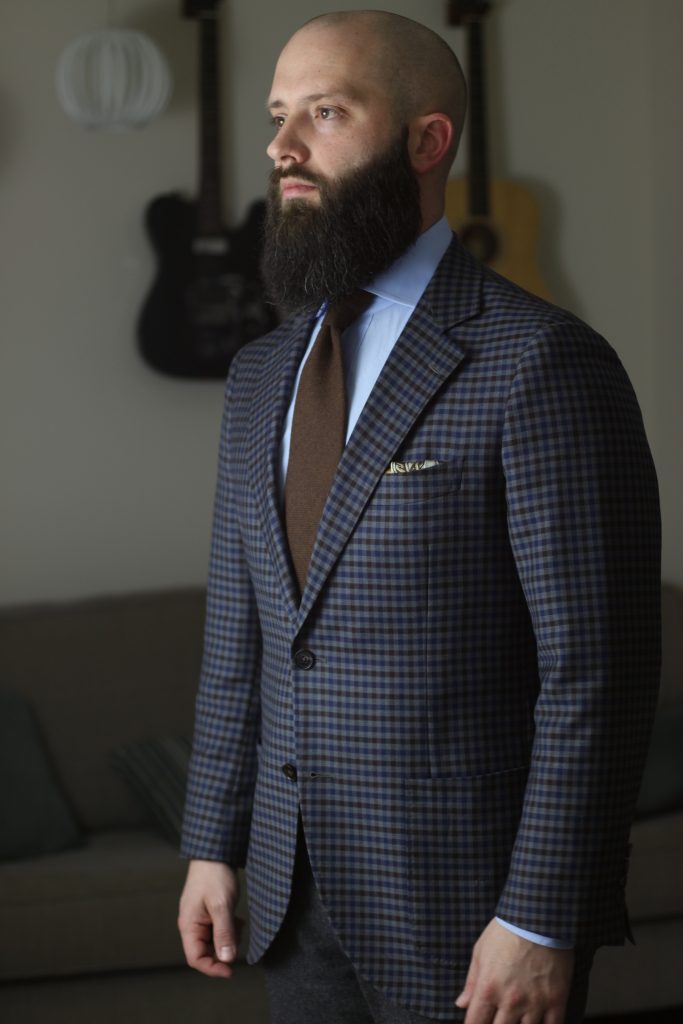
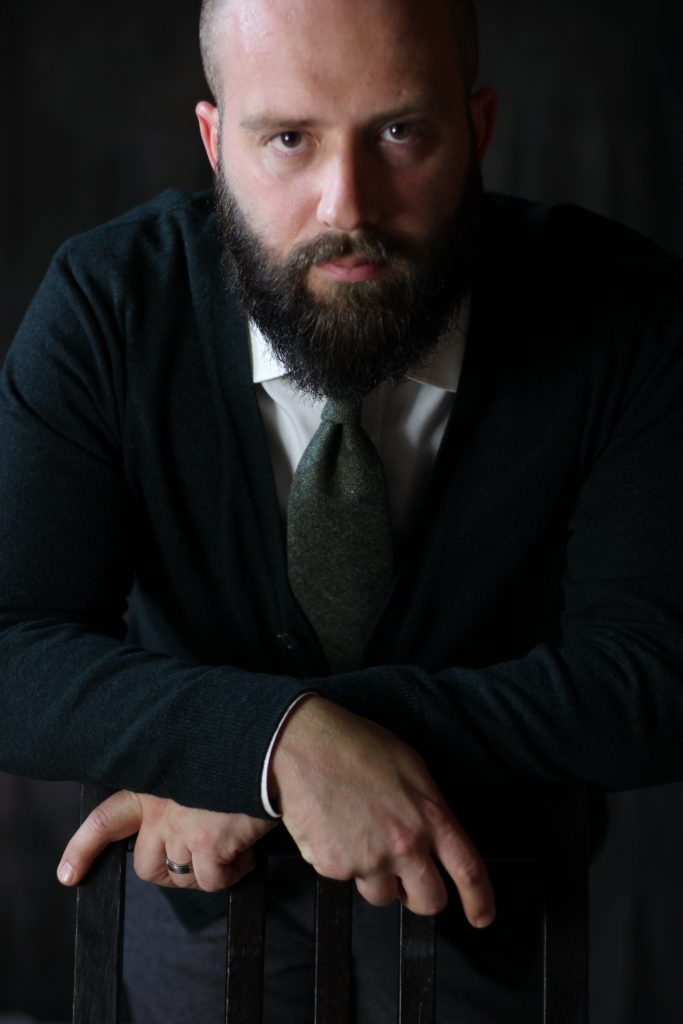
In my first season of indoor photography, I used our family room where you can see my guitars hanging on the wall. You want to be aware of the background in your photos. I like the guitars, but their glossy finish can sometimes be a pain as they reflect the light source, causing a visual distraction in the photos.
This year, I ordered a couple of relatively inexpensive backdrops. With these, I’ve got the ability to move my indoor photography setup down to the basement where I have a lot more room to play around with the lighting direction and distance, as well as camera placement.
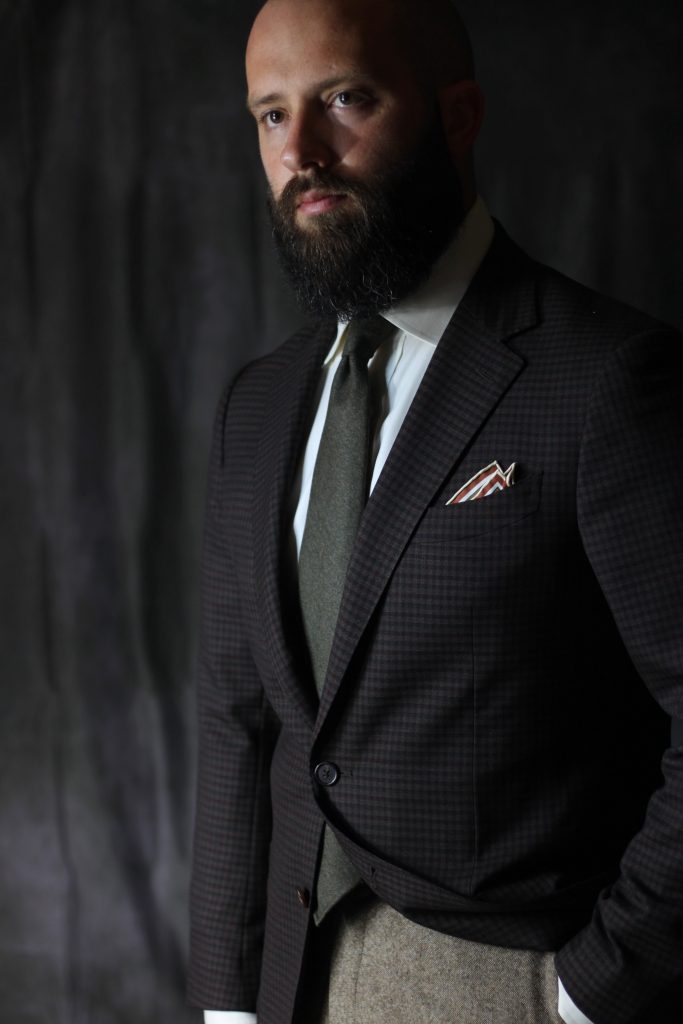
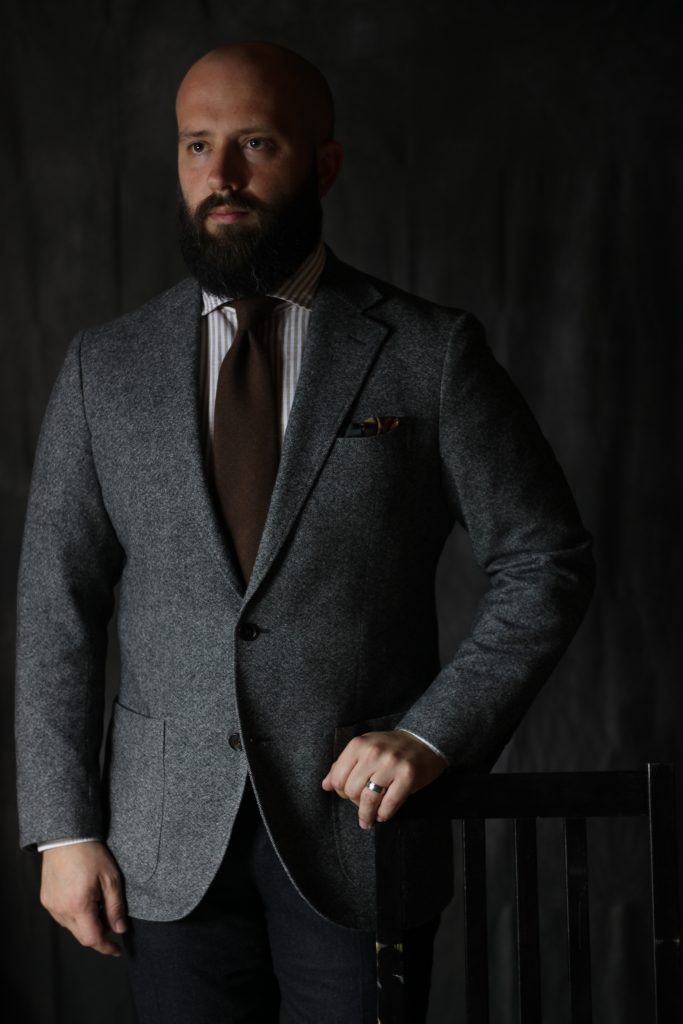
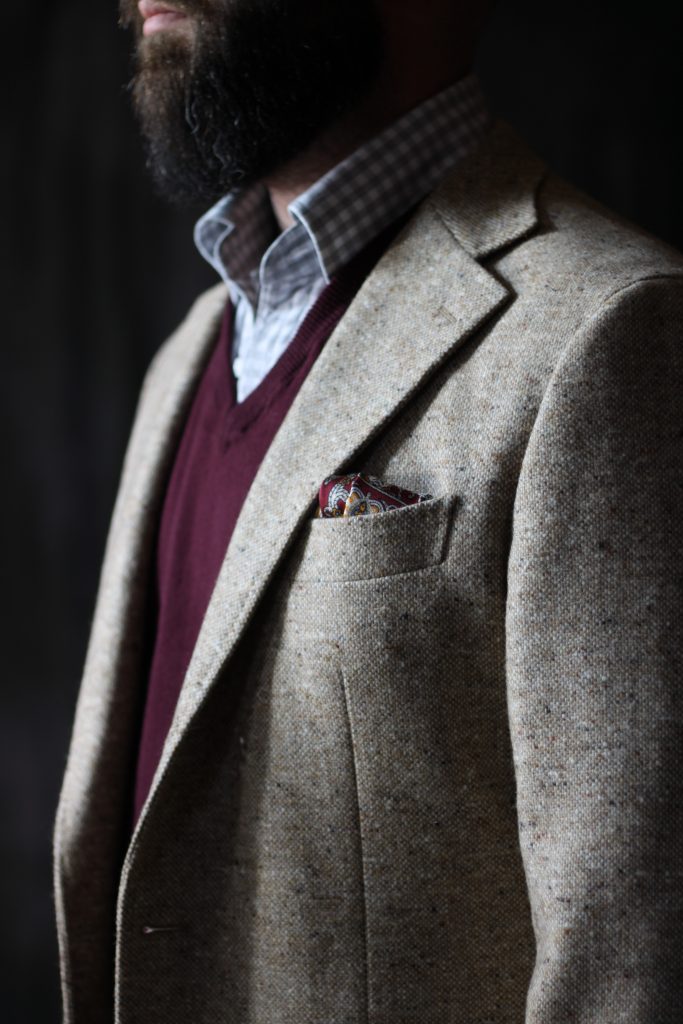
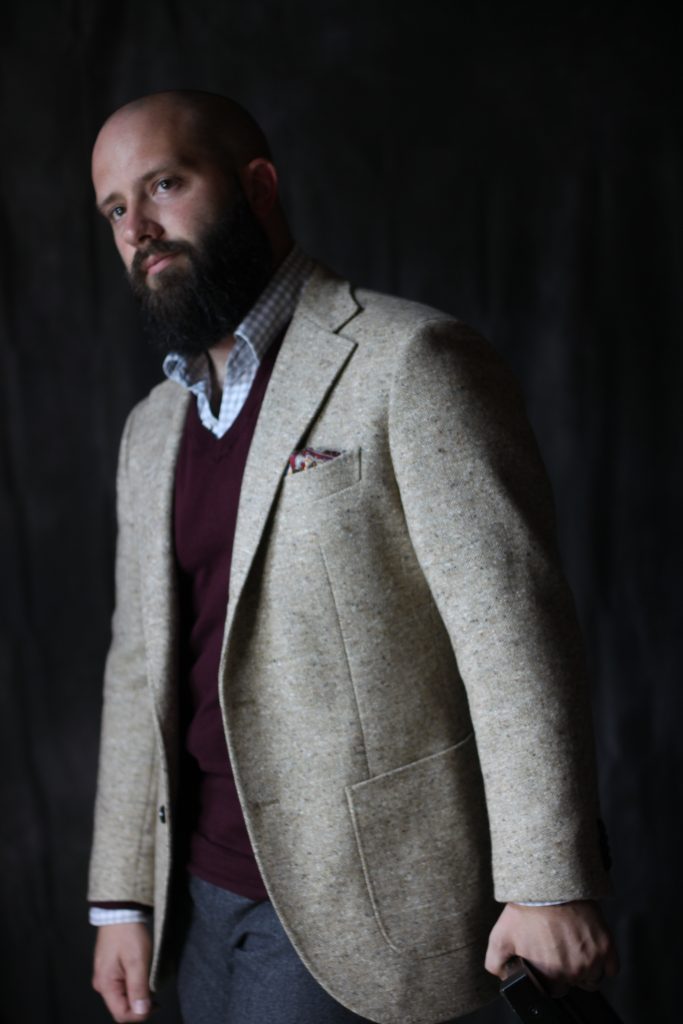

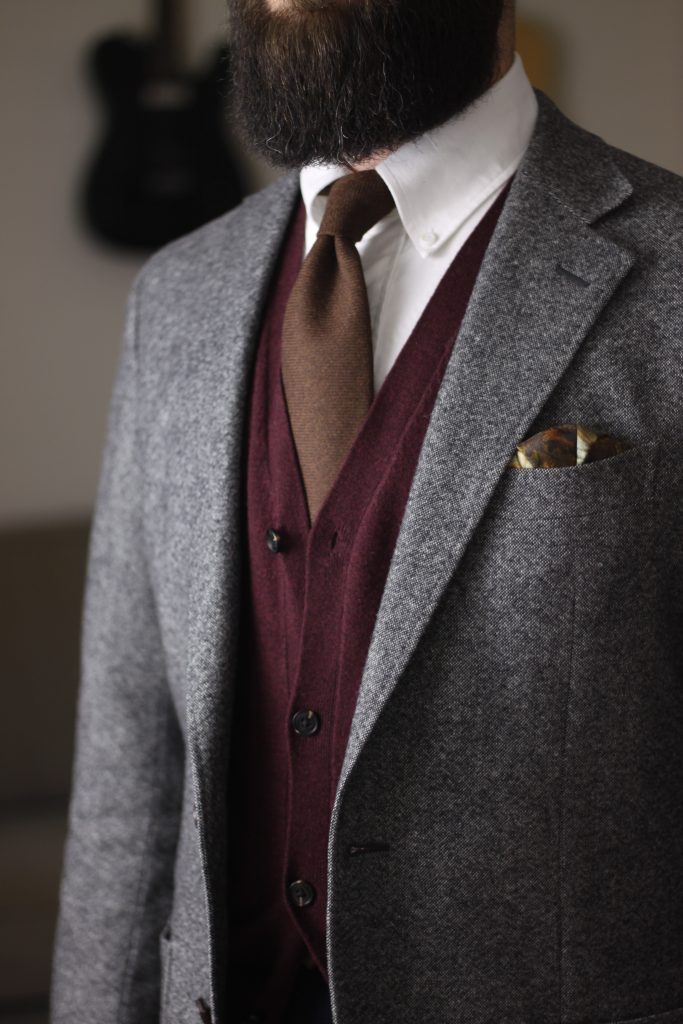
For the last series of pictures, I wanted to try the reflective umbrella lighting. I think with a dark grey backdrop, a little more intensity was required to get that separation of subject and background. It was reasonably successful, but lacked a bit of definition in the darker outfits. In the second photo, I noticed that the light was pointing downwards, and that my hands are better lit than my face. The middle two examples featuring my oatmeal Donegal sport coat are probably the best of the bunch. In those, the light source was placed probably closer to 80° from the camera, which highlights me more, and minimizes the light bouncing off the backdrop.
Having a neutral backdrop can be a great way to de-clutter your photos. The one I’m using here is a dark grey “concrete” texture with some subtle highlights. I have a bigger medium grey one I’ll be hanging that should allow for full body shots.
Next steps…
I’m looking forward to trying out some dual light setups. Maybe one diffusion and one reflective umbrella to balance soft and harsher shadow creation. A master of bending light, Daniel Messana covers this subject in his recently released book, “Find the Light“. The book is the best possible blend of showcasing men’s tailoring and creating drama in your photography. Look for a review coming soon!
How do you deal with fading natural light at this time of year? Any questions for me? Let me know in the comments.
-Colin